
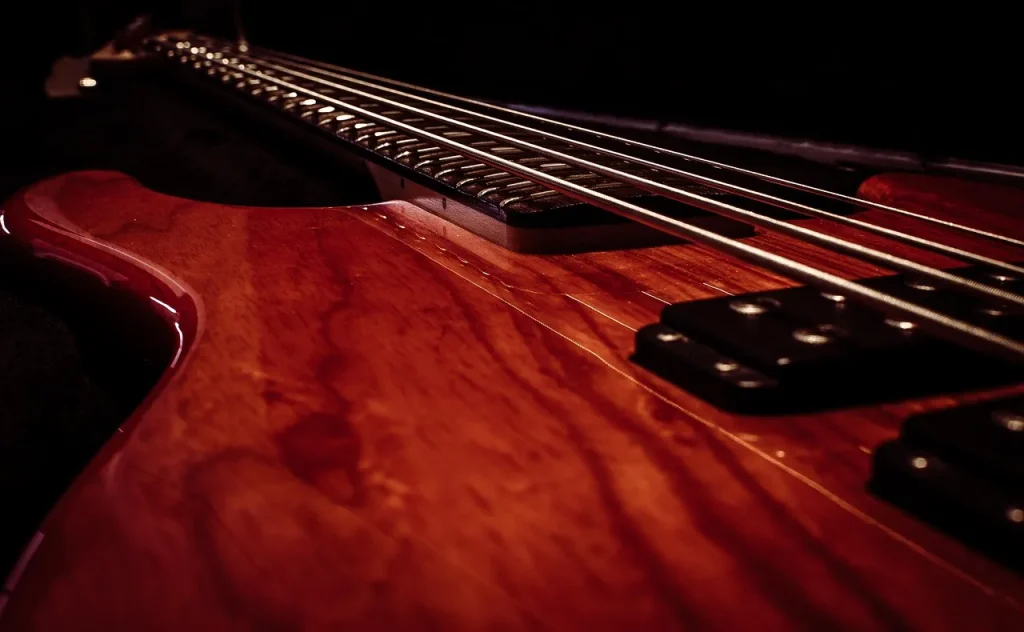
This practical guide is a roadmap for learning to decode tablature and place your fingers on the fretboard. It explains the direction of reading step by step: move from left to right, each line represents a string, and each number indicates the fret where you place a finger.
You’ll discover how to turn those numbers into movements. Start with simple grooves to work on your timing, then explore harmony and chords when you’re ready.
The goal: help musicians at every level gain confidence. Short, regular practice strengthens your visual and listening skills without overwhelming you.
The plan covers strings, reading direction, chord notation, rhythm, both hands’ technique, exercises, and resources to help you progress with confidence.
Why bass tabs are your best ally when starting music
Lines and numbers provide visual guides that make learning more direct for beginners.
Immediate clarity: each number shows where to fret a string. Read from left to right; numbers stacked vertically form a chord. This simple system lowers the theory barrier and helps you make progress sooner.
Action before theory: read a number, place your finger on the string, and aim for a clear sound. This simple sequence builds motivation from your first session and soon lets you tackle accompaniment and riffs from familiar songs.
- A gentle learning curve that adapts to every skill level.
- Access to a broad repertoire: sites such as Songsterr offer tabs for easy songs.
- A natural complement to listening and keeping the beat, helping you fit into the music.
| Benefit | Effect for beginners | Next step |
|---|---|---|
| Visual guides | Immediate finger placement | Riffs → accompaniment |
| Stacked numbers | Understanding chords | Adding rhythm and expression |
| Online repertoire | Motivation from familiar songs | Regular, structured practice |
Use this article as a starting point: learn to read tabs, practice simple patterns, then expand into rhythm, articulation, and harmony. For more resources, see our guide to learning to play without sheet music.
Understanding tablature and string tuning on the fretboard
Finding the line for the lowest-pitched string is the first step toward navigating the fretboard.
Four-string bass
On a standard bass, the strings from lowest to highest are E, A, D, G. The bottom line of the tab always represents the lowest-pitched string.
If you see a “3” on the A-string line, play the A string at the third fret: a simple example to make the movement familiar.

Five-string bass
Low-range tuning: B, E, A, D, G. The B string adds a line at the bottom. High-range alternative: E, A, D, G, C, with the C string at the top.
Six-string bass
A common order is B, E, A, D, G, C. Count the lines and memorize their positions to find notes on the fretboard quickly.
| Configuration | Order (low → high) | Benefit |
|---|---|---|
| 4 strings | E – A – D – G | Clear starting point |
| 5 strings (low-range) | B – E – A – D – G | Extends the lower range |
| 5 strings (high-range) / 6 strings | E – A – D – G – C / B – E – A – D – G – C | More melodic possibilities |
Tip: check your instrument’s actual tuning before reading a tab. Picture a map of the fretboard to read more quickly.
How to read bass guitar tablature step by step
Start by following the tab from left to right, as you would follow a musical phrase.
Left to right: direction, bar lines, and rhythm
The reading direction stays the same: move rightward through the numbers on each line.
Bar lines mark the measures. Even when only fret positions appear, your playing still needs to follow the rhythm and note lengths.
Numbers and frets: where to place your fingers
A “5” means placing a finger at the fifth fret of the corresponding string. Repeat this until the movement becomes automatic.
Before playing, quietly say “string + fret” to coordinate your eyes and hands. Play slowly, with your fingers close to the frets, for a clean sound.
Practical example: start with one measure of quarter notes on a single string, then turn them into eighth notes. Next, alternate between two lines to improve your accuracy.
| Element | Action | Goal |
|---|---|---|
| Direction | Left → right | Follow the musical phrase |
| Numbers | Indicate the fret | Place fingers accurately |
| Rhythm | Bar lines | Keep note lengths and a steady pulse |
Tip: use a metronome at a slow tempo. Check that every note is in tune and sounds clean before speeding up.
Chords and vertically aligned numbers in tablature
When numbers are stacked vertically, they form a chord to play with a single attack.
What this means in practice: numbers aligned across several lines indicate notes to sound together. Mute unused strings for a clean result.
Start with simple triads
Begin with the root, third, and fifth across two or three strings. This produces a full sound without straining your fretting hand.
Chord families and essential intervals
Here is how the notes are built up:
| Chord | Intervals (in semitones) | Example |
|---|---|---|
| Maj7 | 0, 4, 7, 11 | C-E-G-B (C Maj7) |
| min7 | 0, 3, 7, 10 | C-E flat-G-B flat (C min7) |
| 7 | 0, 4, 7, 10 | G-B-D-F (G7) |
| m7b5 | 0, 3, 6, 10 | B-D-F-A (B m7b5) |
A simple example is C Maj7 using C-E-B on three strings. Leave out the fifth if the stretch is too wide.
- Adapt your fingering (2 to 4 fingers) to the width of the neck.
- Play gently with your plucking hand at first to check the balance between notes.
- Explore inversions and positions; two-note voicings often keep the low end clearer.
“Prioritize a clear sound over stacking up too many notes.”
Rhythm, note values, and reading without losing your place
Note lengths bring a bass line to life more than pitches alone. Notation uses timing markers similar to standard music notation. Bar lines, subdivisions, and rests show when to hold or play a note.

Note lengths and rests: placing notes on the beat
Count aloud (“one-and-two-and”) to feel eighth notes, observe rests, and time each attack accurately.
Visual and listening cues for staying in time
Look two beats ahead to anticipate the next number. Listen for the kick drum in the track; it can guide your attack.
Working on timing: metronome, backing tracks, and feel
- Start with a metronome, first with a gentle beat and then a stronger one, to feel the rhythm.
- Move on to backing tracks to hear how your lines fit into real music.
- Simple routine: 5 minutes keeping the beat on one note, 5 minutes of variations (quarter notes, eighth notes, syncopation), and 5 minutes applying them to a bass line.
“Rhythmic ease grows through listening, consistency, and honest recordings of your practice.”
Tip: record yourself, listen back, and fix small timing slips before they become habits. Work through slow songs first, then raise the tempo without losing clarity.
Plucking-hand and fretting-hand technique: a simple, effective approach
Sound quality depends on both your attack and your hand position. Practice reliable movements repeatedly to make your playing more consistent.

Fretting hand: keep your thumb near the middle of the back of the neck, curve your fingers, and use only the pressure needed just behind the fret. This approach reduces unwanted noise and protects your joints.
Plucking hand: alternate your index and middle fingers for most lines. Keep your attack angle consistent and control the unplayed strings to limit resonance.
Playing chords and muting strings
Use 2, 3, or 4 fingers according to the stretch and register. Favor a clean sound over a dense cluster of notes.
- Muting: use your palm or the fingers of your plucking hand to stop unwanted buzzing.
- Practice: isolate difficult passages for 1 to 2 minutes at a time, playing slowly.
- Posture: try playing seated, then standing with an adjusted strap to maintain good alignment of the instrument.
“A clean sound comes from a consistent attack, control of dynamics, and coordination without tension.”
For more on hand placement, see our guide to plucking-hand and fretting-hand position.
Progressive exercises for greater ease and accuracy
Begin each session with a short routine to warm up your fingers and ears.
Warm-ups: fingers and scales
Routine (5 to 15 minutes): play chromatic 1-2-3-4 exercises on one string, then across several strings. Aim for even volume and tone.
Add a major scale, then its relative minor, to loosen your fretting hand and practice shifting positions.
Reading patterns and short bass lines
Build short patterns: four notes on one string, alternate with the neighboring string, then vary the pattern over two measures. Repeat these short lines to establish a steady pulse.
Applying your skills to songs and resources
Choose simple songs on YouTube, find their tabs on Songsterr, and practice each string change slowly.
Finish with 5 minutes of careful listening: record yourself, note your attacks and tuning, then correct them. A focused lesson can help check your posture and fingering before you return to the routine.

| Exercise | Duration | Purpose |
|---|---|---|
| Chromatic 1-2-3-4 (one string) | 5 min | Finger agility |
| Major scale / relative minor | 5 min | Fretting-hand / plucking-hand coordination |
| Looped short lines (1 to 2 measures) | 5 to 10 min | Rhythm and muscle memory |
| Careful listening and corrections | 5 min | Attack quality and tuning |
Tip: learn to spot landmark frets (3, 5, 7, 9, and 12) to make transitions smoother without unwanted string noise.
Improvising from tablature: scales, arpeggios, and building bass lines
Starting from a target note turns a written part into a personal, musical line.
Start by finding the root of the chord shown in the music and picturing its arpeggio: major (0, 4, 7, 11), minor (0, 3, 7, 10), Maj7 (root, 4, 7, 11 semitones), min7 (root, 3, 7, 10), 7 (root, 4, 7, 10), m7b5 (root, 3, 6, 10).
Play the arpeggio around that root in nearby positions. Aim for target notes—the root, third, and seventh—on strong beats to establish the harmony.
Pentatonic scales and simple lines
To begin improvising, try the major pentatonic scale and its relative minor. They sound good quickly and reduce the chance of hitting a wrong note.
Alternate ascending and descending arpeggios over a one-chord backing track. Then add pentatonic notes between chord tones to make the line flow.
Method and exercises
- Over one chord: play the arpeggio, then add pentatonic notes.
- Choose 2 to 3 rhythmic patterns and move them to several positions.
- Explore different fingerings for the same arpeggio to find the most natural route.
Listen to short sequences, remember patterns that work, and combine them over 4 to 8 measures. This gradual work builds coherent musical phrases.
For more on the relationship between written music and improvisation, see our resource on the difference between sheet music and tablature.
Bass guitar tablature: read and play without stress
Follow a structured plan: a few minutes each day, one simple goal, and measurable progress. Begin by understanding how to read tabs, practice slowly, record your playing, then gradually raise the tempo.
Essential reminder: lines represent strings, numbers indicate frets, and vertically aligned numbers form chords. Keep your attack steady for a clean sound.
Plan short daily sessions with a specific goal (tempo, accuracy, or a particular passage). Alternate technical work with the pleasure of playing a riff you love to stay motivated.
- Keep a short practice log: tempos reached, fingerings that work, and areas to improve.
- Share your progress on social media to get feedback and build a supportive circle.
- Return to the reading guide if a passage trips you up; try its recommended exercise.
Simplicity and mindful repetition are the keys to playing with ease and confidence.
Use this article as a roadmap: regular practice, clear goals, and the enjoyment of playing will help you make lasting progress.
Resources, tools, and community for going further
Support your practice with useful tools and an active community.
Apps and backing tracks: use a metronome, apps that change the tempo and key of backing tracks, and Songsterr to find tabs and expand your repertoire. Work on warm-ups, scales, arpeggios, and short bass lines for 10 to 15 minutes per session.
Lessons, levels, and learning method
Choose progressive lessons covering technique, reading, rhythm, harmony, and improvisation. A good course gives you a clear plan for your level.
Sharing and learning with a community
Document your difficulties, post short clips on social media, and ask for feedback. Joining English-speaking musician groups or attending guided jam sessions helps you listen, count, and interact while playing with others.
- A typical method: choose a song, find its tab, practice with a metronome, then play over a backing track.
- Add practice with rhythmic notation so you can anticipate each attack.
- Alternate solo practice with exchanges with other musicians to stay disciplined and creative.
Sharing your progress speeds up learning and keeps you motivated.
Conclusion
Keep these practical guides in mind: lines = strings, numbers = frets, and rhythm drives the music.
You now know the basic steps for decoding tablature, placing your fingers, and reading from left to right with a steady beat.
Gradually explore simple chords to enrich your accompaniment. Follow a short routine: warm up, practice focused patterns, then apply them to a song.
Use backing tracks, apps, and online resources to build a repertoire you enjoy. To work on voicings, see our guide to playing chords on bass.
Revisit this article, track what you have learned, and stay curious: patience and clear goals turn learning bass guitar into lasting enjoyment.