
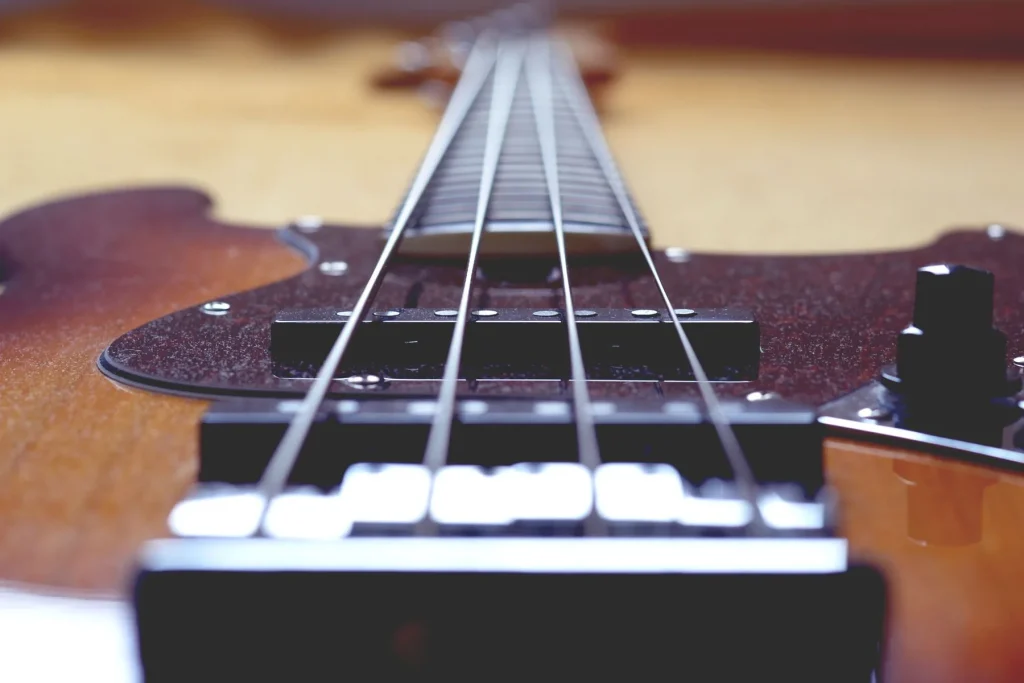
What you’ll learn: This guide shows you how to find and play the pentatonic scale across the entire fretboard. You’ll learn clear, movable positions you can use to improve your playing today.
Why is this pattern everywhere in modern music? Because it helps you create simple, effective bass lines. Bassists use it to develop their groove and musicality quickly.
We cover three fingering approaches: starting with the middle finger, starting with the index finger and making a controlled position shift, and starting with the little finger to extend your range. Each approach includes examples in C, A and D, along with precise tablature.
Learning goals: greater ease across the fretboard, melodic lines, effective fills and endurance. The lesson includes tempo exercises, ways to build endurance and advice on using videos to meet your needs.
Why the pentatonic scale is essential for bassists
The pentatonic scale is a simple, powerful tool that quickly expands a bassist’s vocabulary. Its appeal lies in its simplicity: five notes are enough for many musical settings.
It supports improvisation and lets you create effective fills without losing your way. Many students say this teaching approach gets “straight to the point” and produces quick results.
Fewer notes mean greater clarity. Practicing in groups of two strings and exploring an extended position gives you clear reference points. This way of practicing makes it easier to advance to the next level.
To put the theory into practice, follow this simple plan:
- Start slowly with one useful shape.
- Practice short fills within a groove.
- Increase the tempo once you can control your sound.
| Benefit | Use | Immediate result | Long-term progress |
|---|---|---|---|
| Simplicity | Groove, pop, soul | Less hesitation | A solid musical foundation |
| Flexibility | Improvisation, fills | Singable lines | A path to other scales |
| Clear teaching | Focused exercises | Noticeable progress | Rhythmic endurance |
“A small set of focused principles can lead to real progress without overwhelming you with information.”
To explore further, read about pentatonic scales for bass and adapt the shapes to your style.
Understanding the basics: major and minor pentatonic scales
The difference between major and minor often comes down to a single note. That variation changes the character of a line and helps you choose your embellishments.
Scale degrees and construction in C
In C minor (a simple minor shape), the notes are C, E♭, F, G and B♭. These five notes create a more bluesy, expressive sound.
In C major, you remove two degrees from the major scale to get five bright, useful notes. One C major fingering (starting with the middle finger) goes like this: C (3rd fret of the A string), D (5th fret of the A string), E (2nd fret of the D string), G (5th fret of the D string), A (2nd fret of the G string) and C (5th fret of the G string).

When to use each sound
Major: Choose the major shape over bright major or suspended chords for a stable, melodic sound.
Minor: Choose the minor shape over minor chords or when you want more edge and character. It works especially well for riffs and modal improvisation.
- Target notes: root, third (major or minor), fourth, fifth and minor seventh.
- Adapt to the chord: avoid the major third over a minor seventh chord, and use the relative minor if needed.
Tip: Move between a major shape and its relative minor to expand your musical vocabulary quickly.
For a practical lesson and diagrams, consult this practical guide illustrating the fingerings and their uses.
Fretboard landmarks: strings, frets and root-note anchors
Finding reliable points of reference on the fretboard makes every shift easier and reduces hesitation.
First, build a mental map: find the root on each string and note its fret. In C major, the root is at the 3rd fret of the A string. In A major, start at the 5th fret of the E string; for D major, use the 5th fret of the A string as your anchor.
A useful landmark for the major fingering is one fret toward the headstock and two toward the body, with two strings below the root. When starting with the index finger and shifting position, cover two strings and move in a controlled way.
A mental map for four- and five-string basses
Adding a low string means extending your reference points. Keep the same interval relationships so that each fret on each string remains a visual landmark.
- Start in C, then transpose to A and D to learn the shifts.
- Keep your fretting hand aligned: use one finger per fret where possible to stay comfortable.
- Record yourself to check your anchors and reference points.
“Keeping the root in mind helps you find your bearings quickly after moving into a higher register.”
Essential bass pentatonic positions starting with the middle finger
A consistent fingering immediately makes the shapes easier to play and remember.
Middle-index-little-finger fingering: Start with your middle finger on the root. Your index finger plays the next note on the higher string, and your little finger handles the jumps to the higher fret.

Patterns in C, A and D (across two strings)
C (starting with the middle finger): C (3rd fret of the A string, middle finger), D (5th fret of the A string, little finger), E (2nd fret of the D string, index finger), G (5th fret of the D string, little finger), A (2nd fret of the G string, index finger), C (5th fret of the G string, little finger).
A: A (5th fret of the E string), B (7th fret of the E string), C♯ (4th fret of the A string), E (7th fret of the A string), F♯ (4th fret of the D string), A (7th fret of the D string).
D: D (5th fret of the A string), E (7th fret of the A string), F♯ (4th fret of the D string), A (7th fret of the D string), B (4th fret of the G string), D (7th fret of the G string).
Practical tips for the fretting hand
- Use one finger per fret where possible for even playing.
- Keep your wrist neutral and make small shifts to manage gaps of two to five frets.
- Do not force it: stop if you lose control of your sound or hand position.
“Play the shape slowly up and down to keep every note clean.”
| Goal | Routine | Result | Duration |
|---|---|---|---|
| Master the fingering | 5 min in C / 5 min in A / 5 min in D | Reliable finger placement | 15 min |
| Move smoothly between strings | Slow ascending and descending runs | Clean string changes | 10 min |
| Control your tone | Accent each note | Even volume | 5 to 10 min |
Starting with the index finger and making controlled position shifts
Starting with your index finger lets you cover two strings effectively while keeping the melody flowing. This approach reduces large jumps and makes steady playing easier.

Step-by-step fingering and position shifts
C major (starting with the index finger and shifting position): C (3rd fret of the A string, index finger), D (5th fret of the A string, little finger or index finger after shifting), E (7th fret of the A string, little finger or after shifting), G (5th fret of the D string, index finger), A (7th fret of the D string, little finger), C (5th fret of the G string, index finger).
Place your index finger on the root. Shift position only when you need to reach the 5th and 7th frets. You can either extend your index finger or move your whole hand slightly.
Benefits: two-string coverage and melodic flow
- Staying on two strings helps you maintain a continuous line and an even tone.
- Move your whole hand, keep your fingers relaxed and coordinate the shift with your plucking hand.
- Practice with a metronome, time your shifts on the “and,” and alternate ascending and descending runs.
“Connect three or four notes in short phrases to build muscle memory.”
| Goal | Technique | Tip | Result |
|---|---|---|---|
| Clean playing | Short position shifts | Mute the strings you are not playing | Clear sound |
| Flow | Controlled stretching | Metronome, “and” | Continuous lines |
| Transposition | Move the root | Keep your string and fret landmarks in mind | Use the fingering elsewhere |
Starting with the little finger to extend your range
Starting with your little finger extends your range without sacrificing stability. It is useful when one phrase needs to connect low and high notes.

Fingering across three to four strings and the flexibility it requires
In C major (starting with the little finger), a typical route is: C (8th fret of the E string, little finger), D (5th fret of the A string, index finger), E (7th fret of the A string, little finger), G (5th fret of the D string, index finger), A (7th fret of the D string, little finger), C (5th fret of the G string, index finger).
This sequence spans three to four strings and one octave. It calls for flexibility and a measured stretch.
A stability tip: thumb anchoring and alternating plucking fingers
Warm up with gentle stretches and little-finger extension exercises. Work within your own hand’s range.
Anchor your thumb on the lower strings and alternate your plucking fingers for an even sound. Keep your fretting hand aligned to limit unwanted string noise.
“Using this fingering for phrases that move across the strings lets you reach the octave without a break.”
- When to choose it: when a line calls for low and high notes close together.
- Routine: ascend and descend slowly, then break the pattern into groups of three notes.
- Transposition: move the starting point to explore other keys.
| Goal | Exercise | Result |
|---|---|---|
| Stretching | 3 min of little-finger extension exercises | Greater reach between frets |
| Coordination | Ascend and descend across 3 strings at 60 BPM | Smooth transitions |
| Plucking-hand stability | Anchor the thumb and alternate fingers | Even attack |
To develop this use of the little finger and vary your phrasing, also try this plucking-hand exercise.
Exercises and routine: tempo, consistency and endurance
Begin each session with a slow exercise that builds clean playing and rhythmic accuracy. Play eighth notes at 50 BPM, then replace the first note with two sixteenth notes. Mirror the pattern on the way down to improve coordination between your hands.
A rhythmic exercise with eighth and sixteenth notes
Build the phrase in stages: steady eighth notes, two notes in place of the first, then sixteenth notes added one note at a time. This approach prevents uneven bursts and strengthens your control.
Progressing week by week
Start at 50–60 BPM. When every note sounds clean, move up to 90, then 100 and 110 BPM. Move to the next tempo only after achieving consistent, comfortable results.
Sound quality, breathing and breaks
Aim for clear attacks, equal note lengths and silent unplayed strings. Breathe slowly and deeply between cycles. Drink water, take breaks and stretch to stay comfortable.
| Goal | Routine | Duration |
|---|---|---|
| Clean playing | Eighth and sixteenth notes at 50 BPM | 10 min |
| Progress | Add sixteenth notes each cycle | 15 min |
| Endurance | Tempo stages from 90 to 110 BPM | 10 to 20 min |
Record yourself and use videos or additional learning resources to check your hand alignment and groove.
Musical applications: grooves, fills and improvisation across the fretboard
Breaking the fretboard into groups of two strings reveals new melodic paths. Practicing this way helps you move beyond familiar licks and invent more original lines.
Next, use an extended position to connect two neighboring shapes. This creates a line that breathes and moves naturally across the fretboard. You gain range and freedom.
Fills and articulation
Add brief rhythmic bursts to drive a groove forward. Use slides, hammer-ons and pull-offs to add character.
Practice articulation too: well-placed accents, changes in dynamics and controlled legato can improve your playing immediately.
Which pentatonic scale to choose over each chord
To keep a chord progression coherent, use the major shape over major triads and the minor shape over minor seventh chords. Over dominant chords, adjust your playing by emphasizing target notes.
- Alternate roots, fifths and characteristic notes to build a complete line.
- Start on different scale degrees to develop your ear.
- Spend a short session each day on articulation, shifting position or changing the order of the notes.
“Short patterns, rhythmic repetition and transposition are your best tools for exploring the entire fretboard.”
| Goal | Technique | Result |
|---|---|---|
| Move beyond clichés | Groups of 2 strings | Original lines |
| Extend your range | Extended position | Smooth transitions |
| Add character | Fills and articulation | A lively groove |
Conclusion
Here is a summary of the practical tools to work on each day.
The three fingerings complement one another: start with the middle finger for a reliable anchor, the index finger with position shifts for fluidity, and the little finger to extend your range. Keep a few string and fret landmarks in mind so you can find the root quickly.
Try this consolidation exercise: play each shape up and down three times at a slow tempo, then at a moderate tempo. Practice in groups of two strings, add fills and adapt the major pentatonic scale to the chord.
Tip: favor short, regular sessions, breathe, take breaks and use additional resources or detailed videos to refine your movements and playing.